Windows 10 Backup
Windows 10 Backup……
Are you backing up your computer? Don’t wait until it’s too late to find out.
Windows 10 uses File History to backup your personal files.
File History takes snapshots of versions of your files and stores them on an external hard drive. You will then have a library of past versions that you can recover if need be.
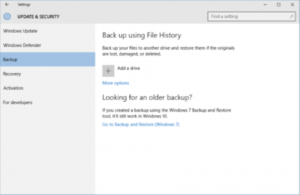
In Windows 10, you can set this up by oipening the Settings app and go to Update & Security > Backup.

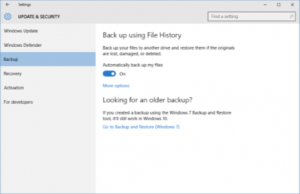
Once you’re there, hook up your external hard drive to Windows and then in the Settings app click the “+” next to Add a drive. You’ll see a prompt to choose an external drive, choose the one you want, and that’s it. File History is now archiving your data. An on/off slider will now appear under a new heading called “Automatically back up my files.”

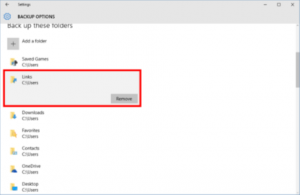
By default, Windows 10’s File History will back up all the folders in your User folder. To add other folders to File History, or to remove some, click on More options under the on/off slider and scroll down to “Back up these folders”

From here, you can add a folder by clicking the “+” at the top of the list. To remove a folder scroll down to find it, click on it to highlight, and then click the Remove button.
Below that list you can also create a list of folders to specifically exclude, or stop backing up to the currently selected drive and choose another one. You can also select how often File History backs up your files—the default is every hour—and how long Windows stores your revisions.
Once File History is enabled, a neat new trick to access older versions of a file is to right-click on it in File Explorer, and then select Properties. In the new window that opens, select the Previous Versions tab for quick access to archival versions of your file.


